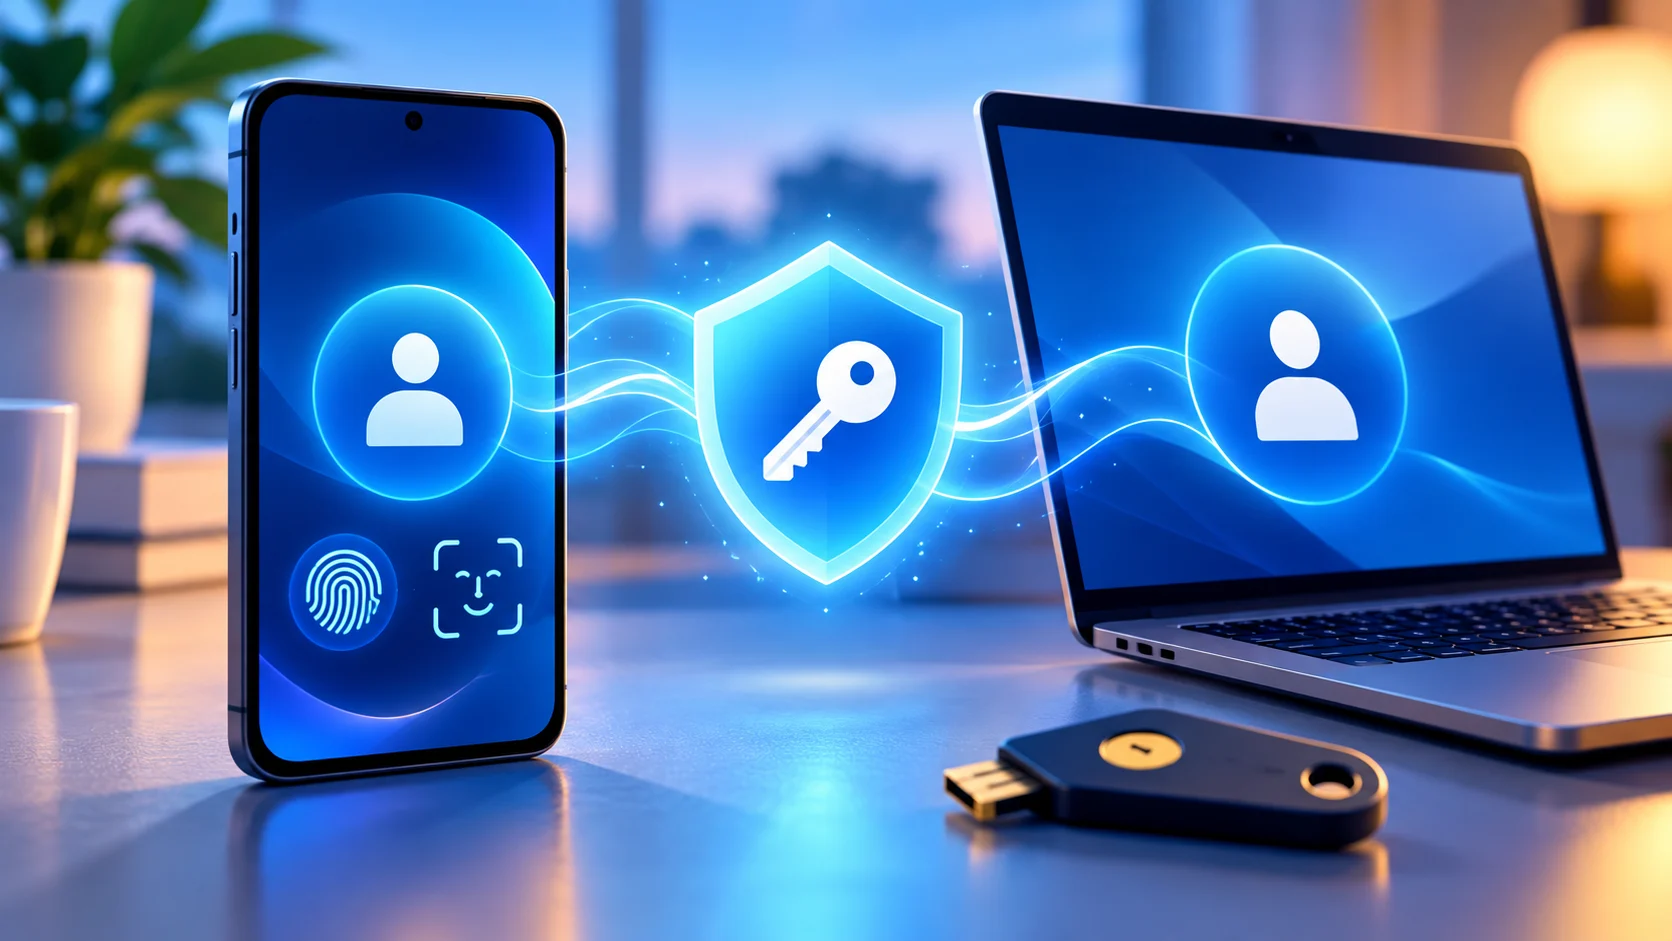
Short answer: Google Account passkeys let you sign in with the screen lock on a trusted phone or computer instead of typing a password. They are designed to resist phishing because the passkey works only with the real site or app. Create passkeys only on devices you control, keep recovery options current, and remove the passkey and device session promptly if a phone or computer is lost.
Contents
- How Google Account passkeys work
- Requirements and setup
- Signing in on your device or another device
- Two-Step Verification and recovery
- Lost-phone response
- Removal, troubleshooting and FAQs
What is a Google Account passkey?
A passkey is a credential stored on a device or in its supported credential manager. When Google asks you to sign in, you unlock the credential with the device method you already use—such as a fingerprint, face scan, PIN or pattern. The biometric information stays with the device or its secure system; Google receives confirmation that the unlock succeeded, not a copy of your fingerprint or face.
Passkeys use public-key cryptography. The service keeps a public key, while the private key remains protected by the device or credential provider. A fake website cannot use the credential for the genuine Google domain, which makes passkeys more resistant to credential phishing than a password or one-time code typed into a page.
A passkey is not simply a saved password. It does not reveal a reusable secret that you can read or paste, and it is not the same as a traditional hardware security key—although compatible physical security keys can also hold passkeys.
What changes and what does not?
Creating a passkey adds a new way to sign in. Google’s current help guidance says passkeys can be used instead of a password and may satisfy a Two-Step Verification challenge because possession of the device and its local unlock provide strong authentication. Your account still has a password unless you change account settings, and recovery information remains important.
Passkeys do not protect an already-unlocked device from someone holding it. They do not replace good recovery hygiene, device updates or remote-lock features. They also do not make every browser, app, managed work account or older device compatible. Feature availability depends on operating system, browser, credential manager and administrator policy.
Requirements before you create a passkey
Google lists current platform and browser requirements on its official help page. In general, use a supported recent version of Android, iOS, macOS, Windows or ChromeOS and a current compatible browser. The device must have a screen lock. Bluetooth may be required when you use a nearby phone to approve a sign-in on another device.
- Update the operating system and browser.
- Turn on a strong device screen lock that only trusted users know.
- Confirm the Google Account recovery phone and recovery email.
- Use a personal device, not a shared computer in a shop, hotel or office.
- Know whether the account is personal or managed by an employer or school.
For a managed Google Workspace account, an administrator can restrict passkey creation or use. Follow the organisation’s policy; do not try to bypass it by adding a personal credential to a work-controlled device.
How to create Google Account passkeys
- On the device you control, open your Google Account.
- Go to Security, then the sign-in section, and choose Passkeys and security keys or the current equivalent.
- Google may ask you to sign in again.
- Select Create a passkey.
- Follow the device prompt and unlock with its approved biometric, PIN, password or pattern.
- Read the confirmation and verify that the passkey appears in your account’s passkey list.
- Name or identify devices clearly where the interface allows, so you can recognise them later.
Some Android devices may have a passkey registered automatically when they are signed into the account and meet Google’s conditions. Review the passkey list instead of assuming that every signed-in device has—or does not have—one.
Never approve a passkey-creation prompt that appears unexpectedly. Open account settings yourself from the official Google Account page rather than following a link in an email or message.
How to sign in with a passkey on your own device
Enter your Google Account identifier when asked. Choose the passkey option if it is not offered automatically, then approve the device unlock. You may see a fingerprint or face prompt, but the exact wording belongs to the operating system or credential manager.
If several passkeys or profiles exist, select the credential for the correct Google Account. On a shared browser profile, sign out when finished even if the device itself is trusted.
How to use a passkey from another device
A common example is signing in on a laptop by approving with a nearby phone. Choose an option such as “Use a passkey from another device.” The computer may show a QR code. Scan it with the phone’s normal camera or approved credential flow, keep both devices nearby, enable Bluetooth if requested and confirm with the phone’s screen lock.
The QR code is part of a local cross-device sign-in ceremony; it is not an invitation to scan a QR code sent through social media. Start from the genuine Google sign-in page. If a person on a call tells you to scan a code or approve a prompt to “secure” your account, stop. The digital-arrest scam guide explains how urgent impersonation is used to pressure victims into unsafe actions.
Passkeys and Two-Step Verification
A passkey can satisfy Google’s second-step requirement because it proves possession of the credential and local device unlock. That does not mean you should delete every backup method. Keep recovery information accurate and, when appropriate, retain a security key or backup codes in a secure offline location.
Do not store backup codes in the same unlocked phone that is your only passkey device. The goal is independent recovery: loss of one device should not lock you out of every route.
Google may apply additional safeguards after a passkey is created on a new device. Its current help documentation notes that certain sensitive actions can be delayed until the passkey has been available for seven days. Treat this as an anti-takeover protection, not an error to work around.
What to do if your phone is lost or stolen
- From another trusted device, open your Google Account’s Security page.
- Review Your devices, select the lost device and sign it out.
- Open Passkeys and security keys and remove the passkey associated with the lost device if it appears separately.
- Use the operating system’s official lost-device service to lock or erase the phone when appropriate.
- Change the Google Account password if you believe the device was unlocked, the password was exposed or account activity is suspicious.
- Review recent security activity, recovery phone/email and third-party access.
- Contact the mobile operator to protect the SIM if the phone number is at risk.
Removing a passkey from the Google Account is different from remotely signing out the device. Do both when the device is genuinely out of your control. If credentials are synchronised by a platform credential manager, follow that platform’s official lost-device guidance as well.
Do not wait for an attacker to appear in the activity log. If the lost phone had no reliable screen lock, assume higher risk and prioritise remote locking, sign-out and password change.
How to remove a Google Account passkey
Open the Google Account Security page, go to Passkeys and security keys, choose the specific credential and remove it. Confirm by device or account authentication. If the passkey was automatically created for an Android device, you may also need to sign the device out or adjust its sign-in state according to Google’s current instructions.
Remove only the credential you recognise as lost, sold, shared or no longer trusted. Before removing your last convenient sign-in method, confirm that your password and recovery routes work.
Common problems and safe fixes
The passkey option does not appear
Update the browser and operating system, confirm screen lock is enabled, and check the official supported-device list. A Workspace administrator or supervised-account policy may block the feature.
The QR sign-in does not connect
Keep devices nearby, turn on Bluetooth, verify the phone has connectivity and start again from the official sign-in page. Do not photograph and send the QR code to another person.
Biometric unlock fails
Use the device’s alternative local unlock, such as its PIN, if offered. Fix the device biometric settings through the operating system; do not recreate multiple account passkeys merely because a sensor is temporarily dirty or unavailable.
You are repeatedly asked for a password
The app, browser or account policy may not support passkeys for that flow. Confirm the account and browser profile, update software, and use the official “Try another way” option. Never install an extension that promises to force passkey support.
A prompt appears that you did not start
Deny it and review account security. An unsolicited prompt can indicate that someone knows your account identifier or is trying another sign-in method. For more account-data hygiene, see CheckMatter’s Gemini privacy settings guide and ChatGPT Temporary Chat privacy guide.
Passkey safety checklist
- Create passkeys only on personal, secured devices.
- Use a strong screen lock and keep the device updated.
- Maintain at least one independent recovery route.
- Review the passkey and device lists periodically.
- Start QR sign-in only from the genuine Google page.
- Reject unexpected unlock or sign-in prompts.
- Remove credentials before selling or giving away a device.
- Sign out and remove the passkey when a device is lost.
Example
Anita creates a passkey on her personal Android phone and keeps her recovery email current. At work, she signs in to a browser on her own laptop by scanning the on-screen QR code with the nearby phone. Months later the phone is lost. From the laptop, she signs the phone out of her Google Account, removes its passkey, remotely locks the handset through the official device service and reviews recent activity. She then creates a new passkey on her replacement phone. She never sends a QR code or OTP to another person.
Frequently asked questions
Does Google receive my fingerprint or face data?
No. The biometric is processed by the device’s secure unlock system; Google receives confirmation that authentication succeeded.
Can a passkey be phished?
Passkeys are designed to resist phishing because they are bound to the legitimate service domain. Users can still be deceived into unsafe account actions, so device and recovery hygiene remain necessary.
Can I keep using my password?
Google’s current setup allows other sign-in or recovery routes, but the exact prompt depends on account settings and policy. Do not remove recovery methods until you have tested your alternatives.
Should I create a passkey on a shared computer?
No. Google advises creating passkeys only on devices you personally own and control.
What if I lose every passkey device?
Use Google’s official account-recovery flow and the recovery phone or email you previously configured. Recovery is easier when those details are current.
Is a hardware security key the same as a passkey?
A compatible physical key can hold a passkey, but traditional security-key credentials and device-synchronised passkeys are not identical in operation. Follow Google’s displayed label and your security key maker’s official instructions.
Conclusion
Google Account passkeys can make sign-in faster and far more resistant to phishing, but their safety depends on trusted devices and reliable recovery. Create them only on devices you control, understand cross-device QR sign-in, and treat a lost phone as both a device-session and passkey-removal event.
Author: CheckMatter Editorial Desk
Publication date: Proposed; not published
Updated date: 1 October 2026
Last verified: 1 October 2026
Correction history: No corrections; original draft.
Primary authority: Google Account Help
Official source: Sign in with a passkey instead of a password
Lost-device source: Secure a lost or stolen device
Verification metadata:
_cm_verified_source_url: https://support.google.com/accounts/answer/13548313?hl=en
_cm_source_authority: Google Account Help
_cm_effective_date: Feature guidance verified 2026-10-01
Disclaimer: Feature availability varies by account type, administrator policy, operating system, browser, device and region. This independent guide is not affiliated with Google.
Schema: Article; FAQPage eligible if visible FAQs remain. Canonical: https://checkmatter.in/google-account-passkeys-setup-lost-phone/
Leave a Reply